While I love foiling, it can be hard on your gear, especially if you are pushing the envelope of higher speeds and higher winds. I've gone over the handlebars more times in the last couple of years than the previous decade.
Adding to that, I'm now using a custom board which is well-built but even well-built can't save it from a few hard hammerings from the mast. How hard? How about enough that the ink on the luff sleeve gets imprinted on the board?

So, I've gone into the board repair business. As much because I want to get on the water as soon as possible and not miss any sessions. Few things cause a foiler more anxiety than a decent forecast and the thought that the gear isn't ready for the water. Thanks to the guidance from various sources including the Board Lady, my board builder, Alex Morales and Rob Rock, I've acquired enough knowledge to make a reasonable repair- or at least one that looks okay from a distance. As well, I've also practiced these skills in shortening a few older boards and that practice has helped a lot.
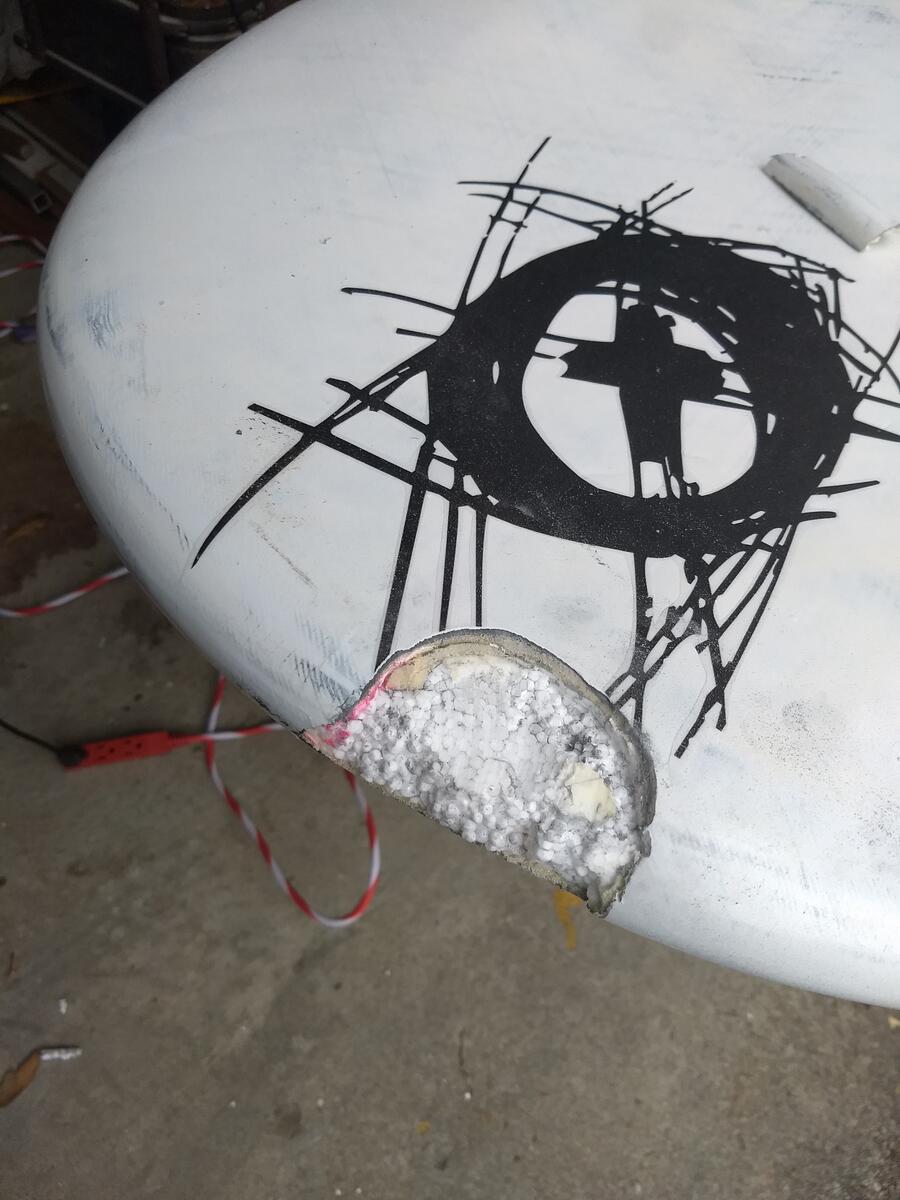
Here's a repair I did recently this spring. I wish I had a picture of the original damage. A day of foiling fully powered (7.7, big wing and gusts near 20) meant that I foiled out (foil lifted too close to the surface) a couple of times. When that happens going upwind, the board then tends to drop hard to the water, trip and stop; and inertia sends you over the front. I've learned since a bit on how to tame that power a bit by moving my back foot and hand up to depower both the wing and sail. The crashes were hard as I was moving along at a good clip.
The impact of the mast crushed the foam inside the board and pushed the top deck down. The exterior crack was actually on the bottom as the top was tougher than the bottom. (If you make something stronger, often, you merely move the point of damage elsewhere which is why when, say, repairing a carbon bike frame, the repair is made no stronger than the original or you risk stressing another part of the frame which wasn't designed for that stress.) I could have just patched the crack but I knew that the interior foam was compromised so any quick exterior repair meant that I was just putting off what really needed to be done- replace the foam, too.
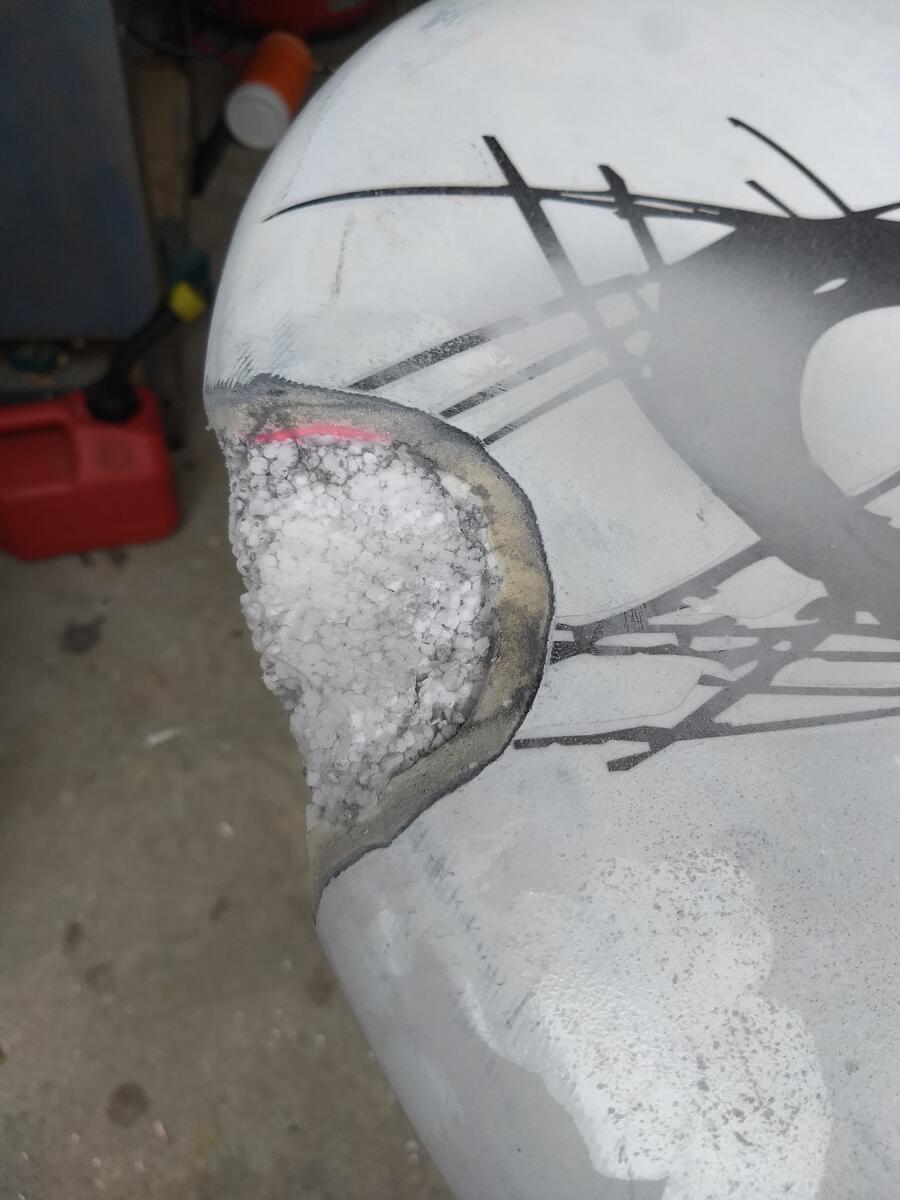
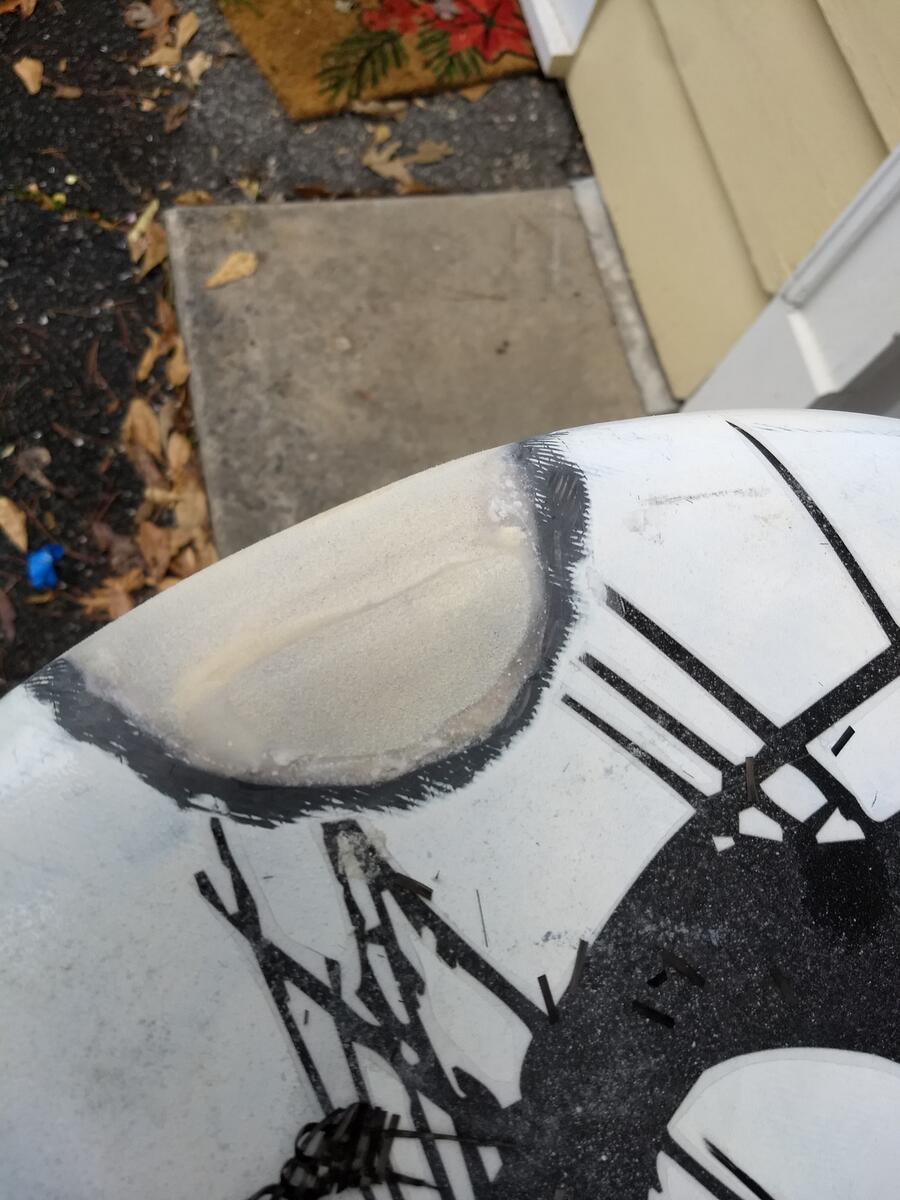
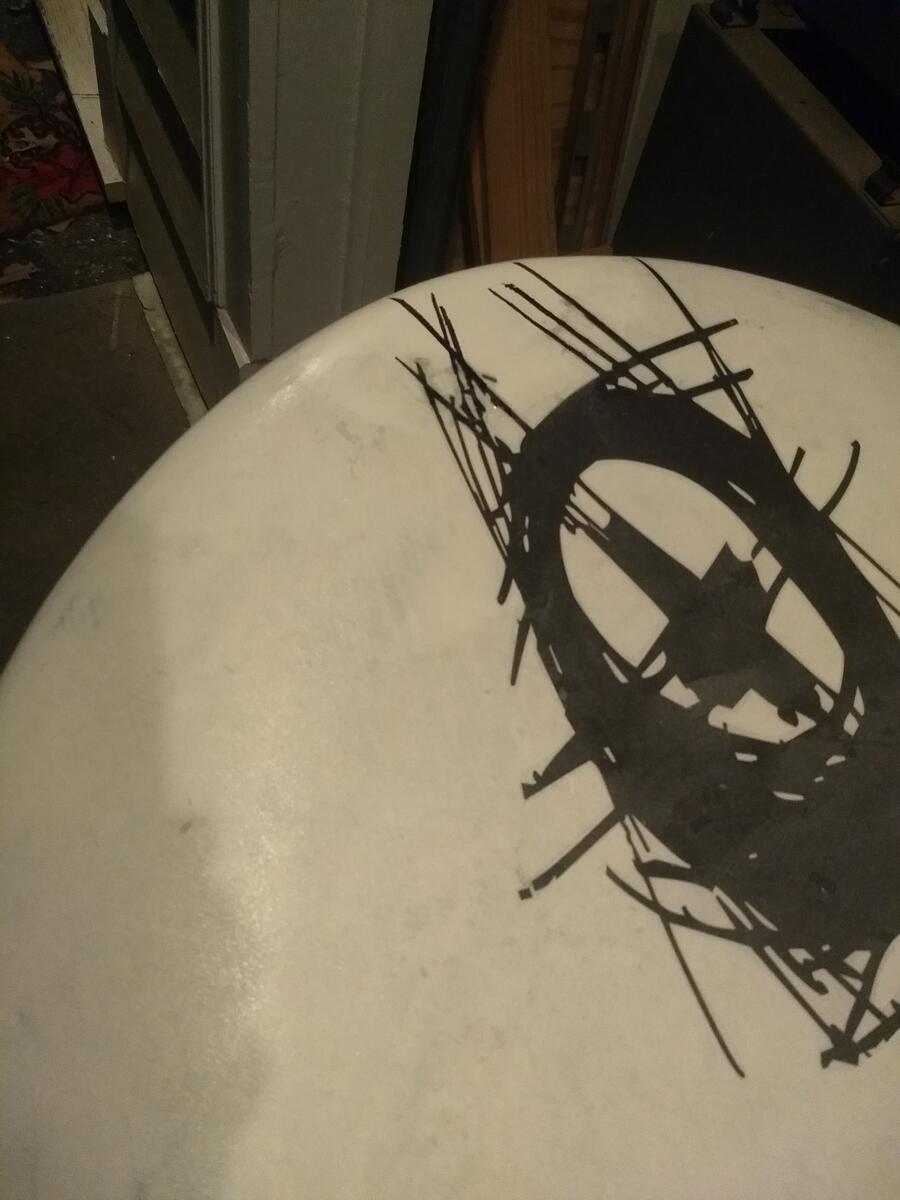
The original damage. It's really not apparent from the top but I took this photo for reference when it came time to mimic the logo. The deck was depressed, the foam inside was soft and the biggest damage was on the bottom of the board where the hard nose pushed down and away from the bottom.
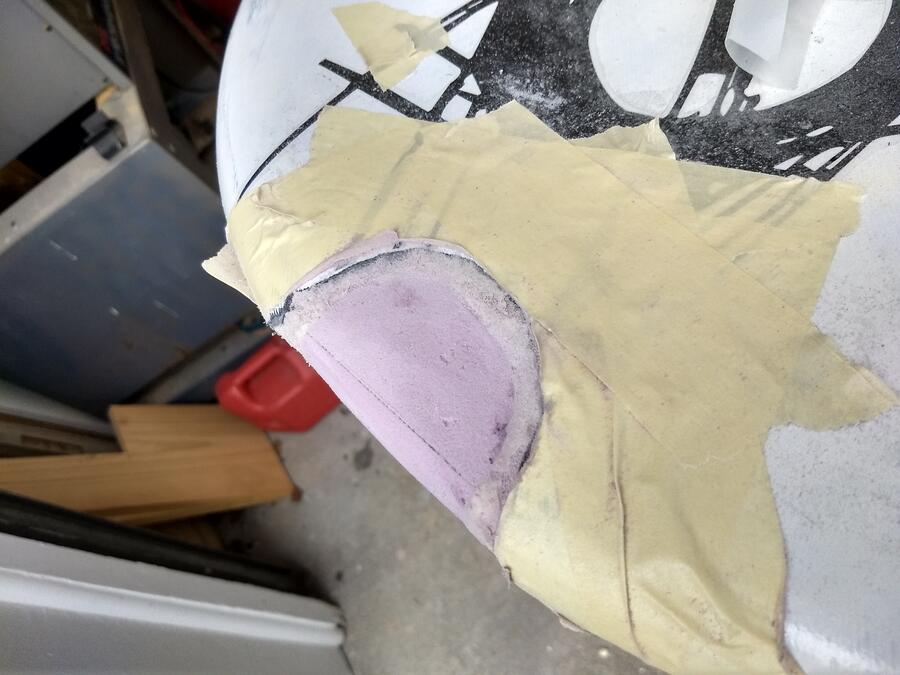
I cut out the damaged foam with a Dremel-like tool and tapered the edges with a grinder and sander to give the new material a surface to adhere to.
I glued in a piece of purple insulating foam. I used this because it was reasonably stiff and easier to shape than styrofoam. More styrofoam was cut out to make sure that the new foam had a good fit and would glue in well. I uses Gorilla glue (polyurethane) because it foams a bit and fills any inevitable voids. It's a bear to sand though as it's really hard.
After it dried, I sanded it to shape. You have to account for the thickness of the PVC foam (I used Divinycell) of the deck sandwich so it has to be some amount below the existing deck.
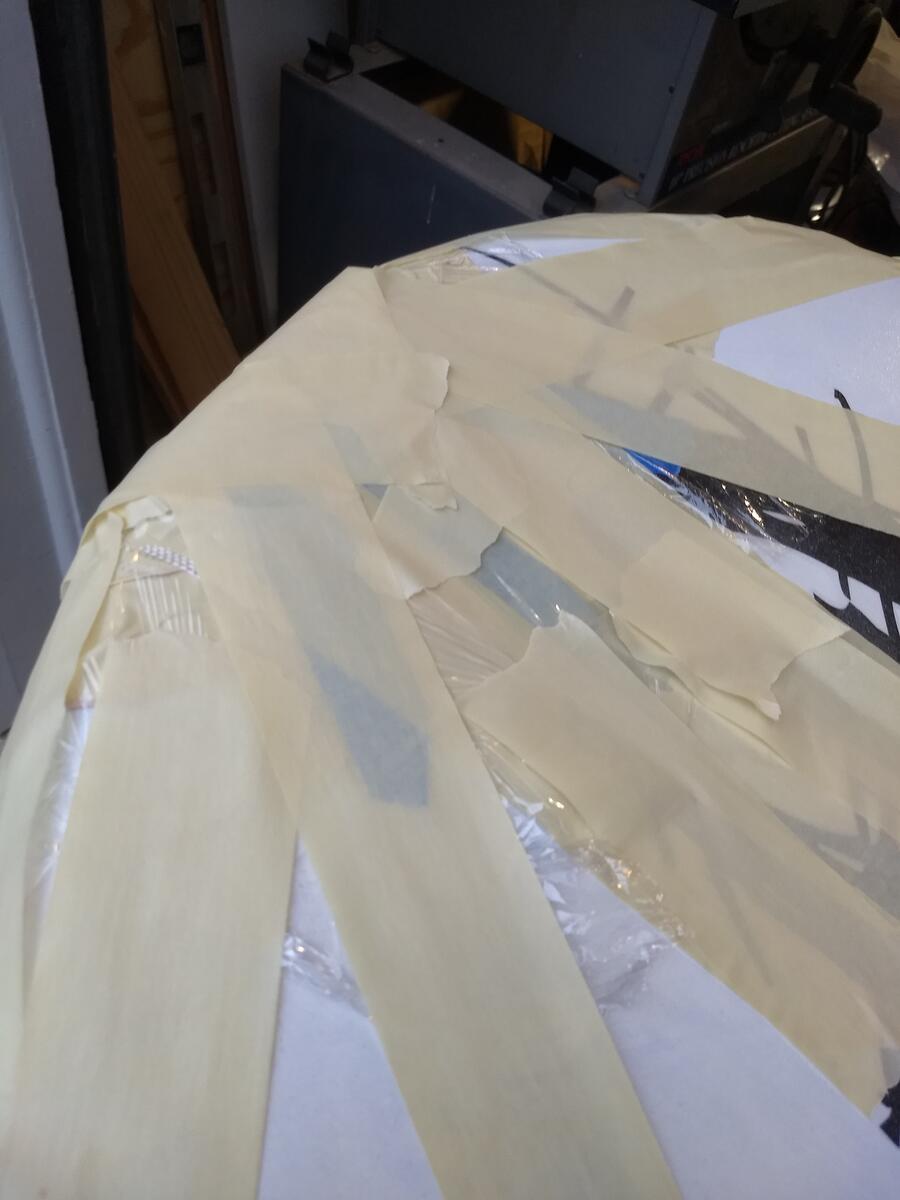
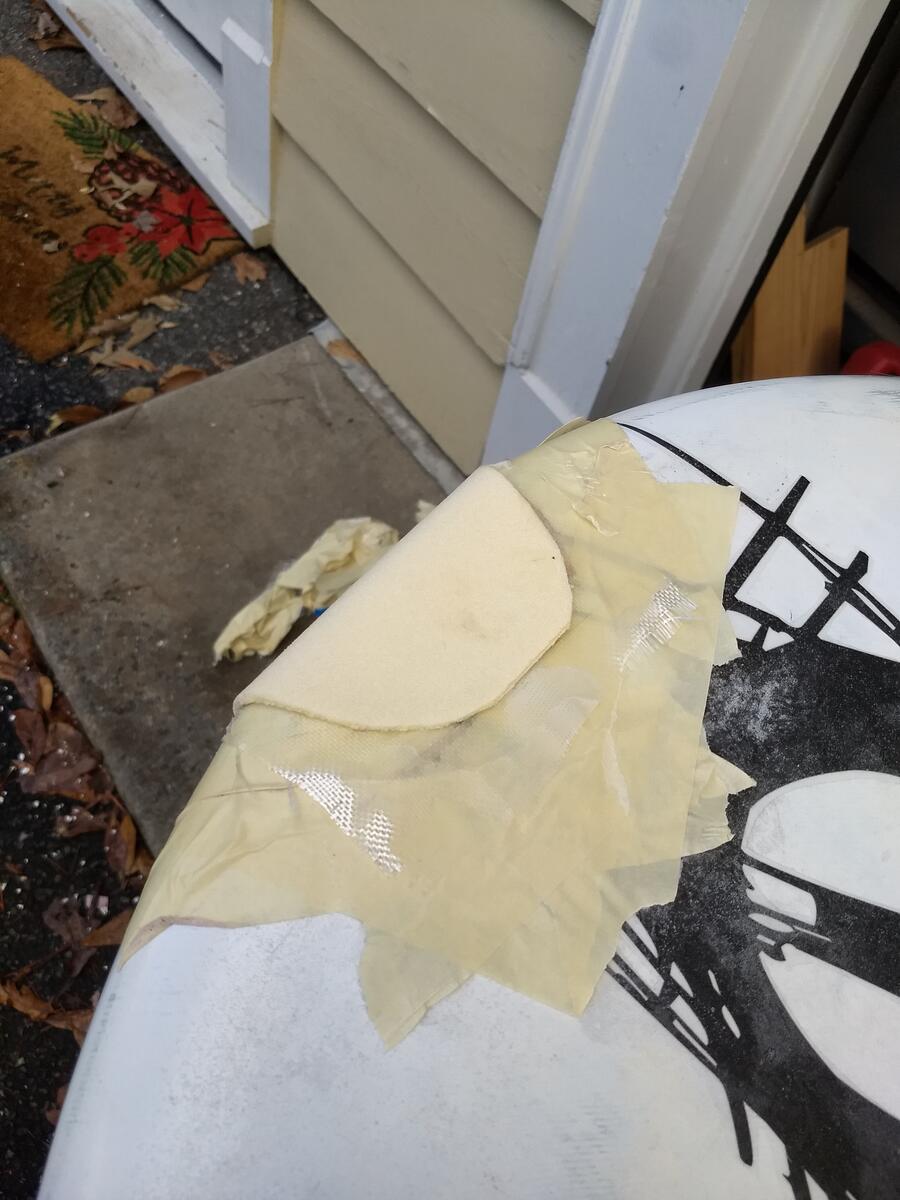
Next, a layer of glass and the Divinycell is glued in. Divinycell is flexible and can be somewhat molded with a heat gun so you can shape it before applying. I used a poor man's vacuum bag of cling wrap and lots of tape to pull it tight. Don't cheap out like I did - blue painter's tape works better as it releases cleanly. The glass and Divinycell were slightly bigger than the hole so that they would glue to the taper and any extra is sanded off in the next step.
The wrap is removed. You can see where I masked all around the repair to keep any excess epoxy from spreading out on the existing deck and requiring sanding. It also protects the deck when sanding (next step) so you can feather first into the tape rather than sanding big parts of the existing deck and logo. A little prep before hand pays off.
The Divinycell is sanded to shape. Now the nose is starting to look like a nose again.
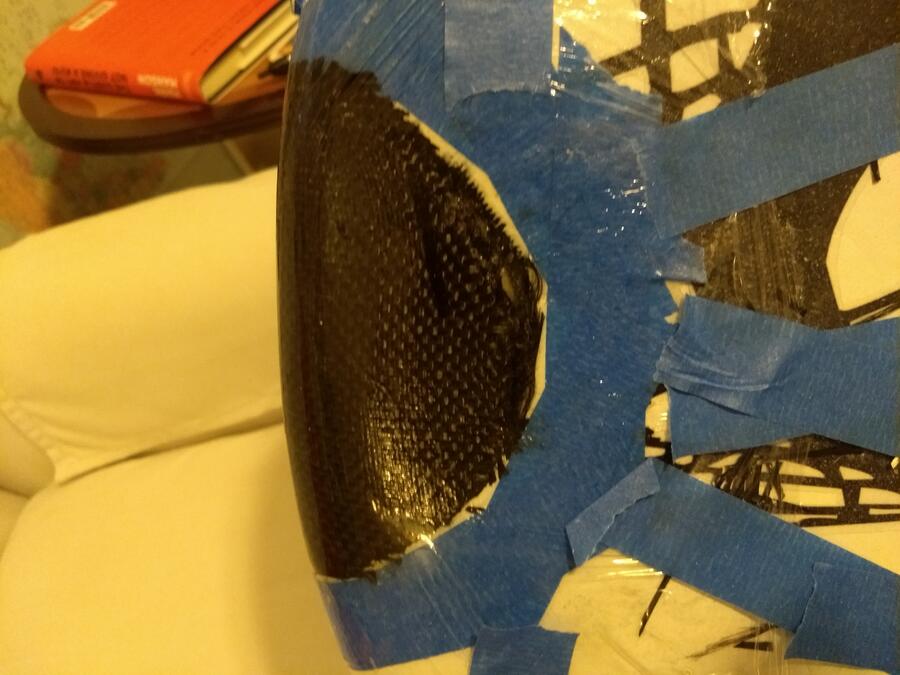
I glued on a couple layers of carbon fiber, each piece on top larger than the bottom to feather the edges. On top of that is a layer of glass so that any sanding and finishing is done on the glass layer so as to not lose any strength by sanding through the carbon. Lacking a vacuum bag, I used lots of cling wrap and tape. As the top of the deck is slightly concave, I had to clamp down on an extra piece of foam to push down on the concave.
After removing the clamp, you can see the wrap stretched tight over the carbon and glass layers.
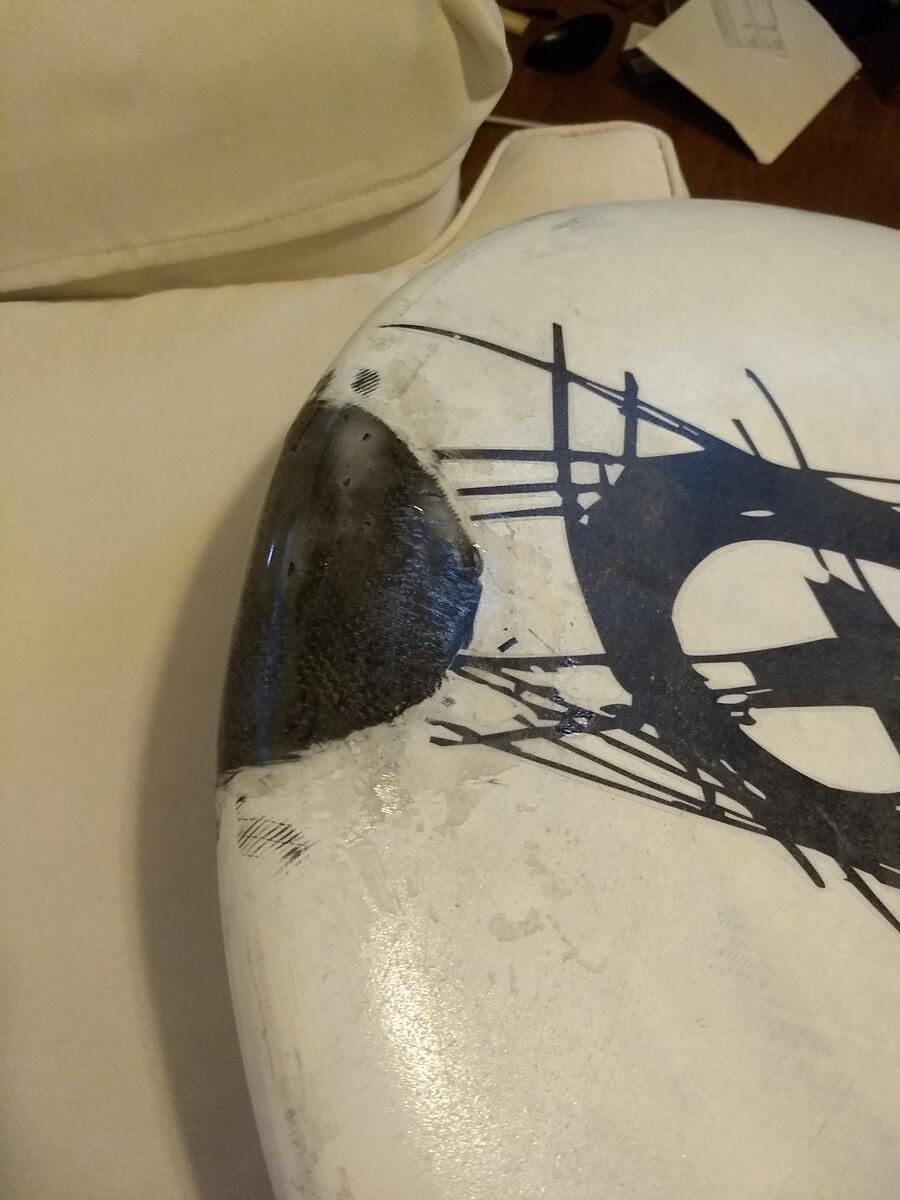
The wrap is removed and ready for the final finish sanding and filling of any pin holes. Mixing a "peanut butter" paste of epoxy and glass sphere filler is spread over the glass to fill any larger voids and Bondo Glazing and Spot Putty fills any pin holes.
I finished off with some white primer and then gloss clear coat per Alex Morales's instructions. I used a black Sharpie to recreate the logo so it wouldn't look awful at 100 yds away. Finally, applied non-skid by applying a coat of clear coat, sprinkling on some acrylic non-skid dust (available at your local hardward store) and another layer of clear coat. Again, recreating how Alex did the original board although I think he uses proper auto clear coat which is a little more durable but toxic without the proper breathing gear.
My board nose is now ready for more windy days! Hooray!